
Brian McCullough's 1980 MGB with GM 3.4L V6
as published in BritishV8 Magazine, Volume XVI Issue 2, October 2008Owner: Brian McCullough
BritishV8 UserID: BMC
City: Stacy, MN
Model: 1980 MGB
Engine: GM 3.4L V6
Built by: BMC British Automobile, LLC
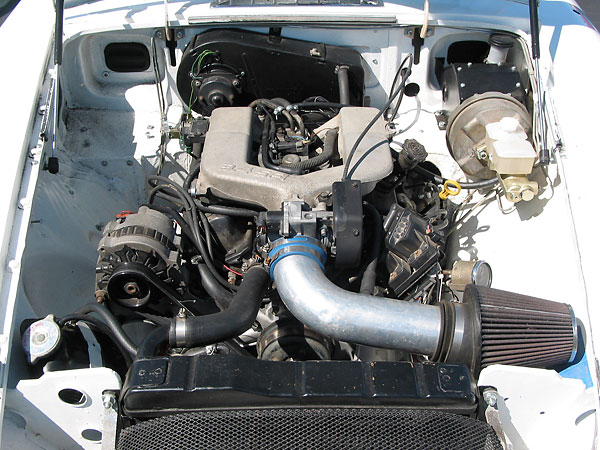
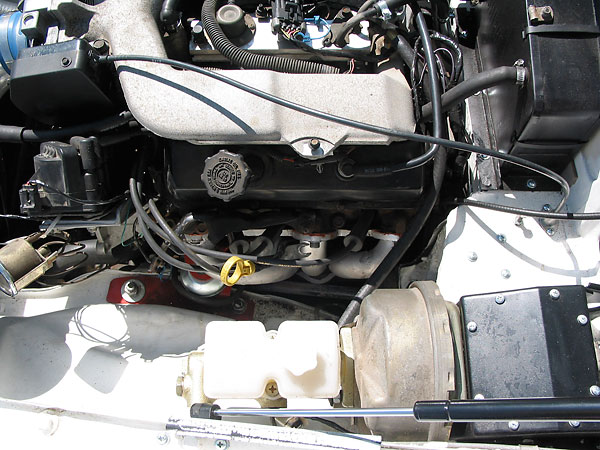
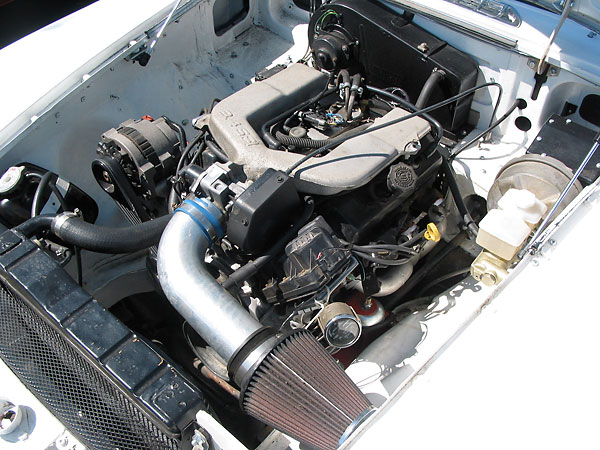
| Engine: | 1995 Camaro 3.4L 'L32'. Engine sat for about 7 years unused and in the weather.
Entirely stock fuel injection including PCM, throttle body, manifold, injectors,
cam, etc. The engine wiring harness is as made and sold by BMC British Automobile,
LLC. It is installed to be mostly hidden in the vehicle. |
| Cooling: | stock late model MGB radiator. |
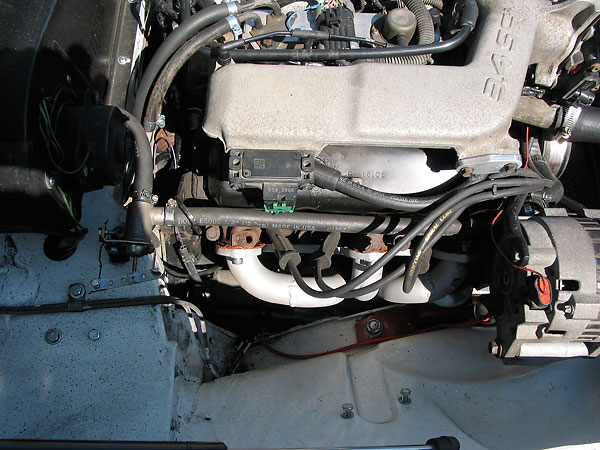
| Exhaust: | Classic Conversions Engineering (CCE) headers. (These are their newer design,
and they work fantastic! I am very pleased with them.) The 'y' pipe is a
2-into-1 1.75" into a single 2.25" exhaust pipe. The silencer is an off the
shelf unit. This was installed so if we are seen, we are not heard thus
avoiding any unneeded attention that I already get enough of. |
| Transmission: | Camaro "non world class" V8-spec T5 for now, although I plan to upgrade next
year to a V6-spec T5 with installation of a 3.42:1 GM axle. Stock Camaro clutch,
actuated by hydraulic throw-out bearing ("HTOB"). 2" thick wall driveshaft. |
| Rear Axle: | stock MGB, for now, but we'll update to a GM "10-bolt" rear axle with 3.42:1
final drive ratio, Eaton limited slip differential, stock GM brake rotors, and
Wilwood calipers. We normally have our axles built slightly narrower than
the stock MGB (Salisbury) axle, but for this car we'll have one built
substantially narrower and we'll use wheel adapters. This will open up many
future wheel alternatives. Note: I prefer "wheel adapters" (5-on-5 to 5-on-5)
as opposed to "wheel spacers". |
| Front Susp. : | stock MGB. |
| Rear Susp. : | stock MGB. Composite springs were purchased a few years ago to be installed
with the axle upgrade. |
| Brakes: | stock MGB. A Classic Conversions Engineering big brake kit is planned for
the front and Wilwood calipers will be installed on the rear (GM) axle
next year. |
| Wheels/Tires: | 195/60R14 tires. Next year, I plan to upgrade to Minilite wheels on a 5x4.75
lug pattern (via CCE front hubs and custom rear axle shafts). |
| Weight: | 2250 with a full tank of gas, as measured at British V8 2008.
(52/48 weight distribution.) |
| Electrical: | stock MGB wiring harness, reworked into a "hidden harness" and mated to a
secondary/adapter harness that facilitates engine removal with only one
disconnection point. Lighting is stock, but relays have been added to the
system. "Angel Eyes" aftermarket headlamps, with a very neat appearance
especially as the sun goes down. Stock gauges (recalibrated). This provides
stock appearance, but it's very costly compared to aftermarket gauges. |
| Completed: | in July 2008 the car was ready for a 200 mile test drive, followed by a
road trip to attend British V8 2008. The car is missing its glove box,
center console, and lots of other items. The majority of the car is
currently stock as of this writing (08/01) and is enjoyable and performs
well. Many, many upgrades are planned as identified above. |
| Comments: | I am not a fan of "rubber bumper" MGBs. They were a shadow of the earlier
cars and not much more. They were too slow, rode too high, didn't have enough
shiny brightwork, and their interior no longer had the simple feel of the early
cars. The exception is the late model dash, which I have grown to appreciate.
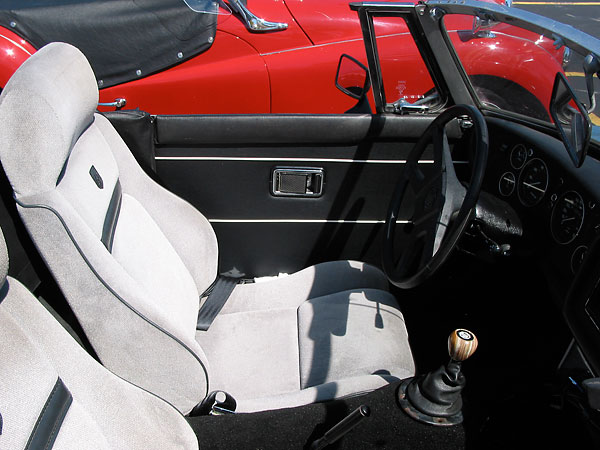
I'm working to overcome many of these compromises. The top has already been backdated. The earlier style top stows better, saves weight, and makes the car more what I believe an LBC should be. The seats have been replaced with Pontiac Fiero seats (I got a great deal!) although I really like the looks of the 62-67 and the 68-69 seats. The panel kit has been replaced with 68-69 type striped panels from Moss. (They're a direct fit.) Driving in traffic is a pain. I mean, you'll really miss not being able to overtake Granny in her station wagon. Not. Seriously, passing is a blast! Driving feels great. No power problems here. It's also fun to hit the stoplights. The original car couldn't keep up with modern traffic. Fuel injection in the 3.4L iron head provides fantastic low and mid range torque. The power rating of 160 BHP does not seem high but the 200 pounds of torque will surprise most. Unlike the original MGB B-series engine, the 3.4L V6 has a fairly wide and flat power band. I prefer to shift at about 5500 RPM, but the majority of the power drops off about 5,000 RPM. This is why I prefer the wide ratio V6 T5 with a 3.42 rear axle ratio: you can take full advantage of the power band produced by this engine. No harm has come to this car as a result of this engine conversion. Since retrofitting back to a four-banger and four-speed would be easy, a purist might almost approve. The only bodyshell modification was a single 2 1/8" hole, drilled in the firewall behind the engine for engine wiring. (The engine controller is mounted above the passenger's feet.) We have built a number of these and they are a blast to drive. Since we build them, of course we are going to recommend them. My advice: drive one yourself. You'll be hooked! |
How It Was Done:
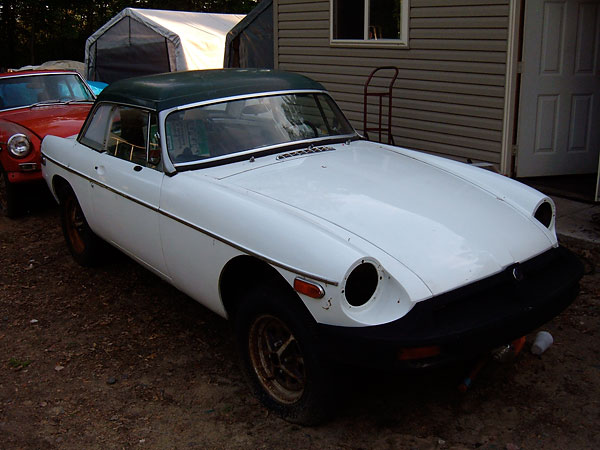
The "Before Picture"

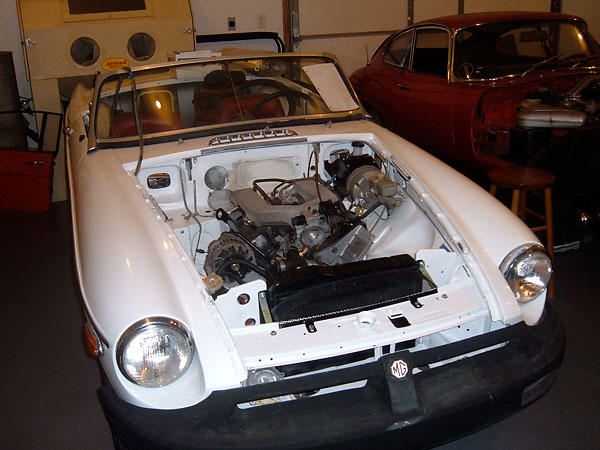
Late model MGB motor mounts don't conflict with Classic Conversions Engineering bolt-in mounts.
The later model MGB radiator location and firewall also provide enough room, without modification.

As a practical matter, the engine goes in and out several times in the conversion process.
A roll-about engine hoist with a "leveler" accessory is a great help.

Brian's display engine, showing off new second-generation Classic Conversions headers.

Just for reference: first and second generation CCE headers compared.
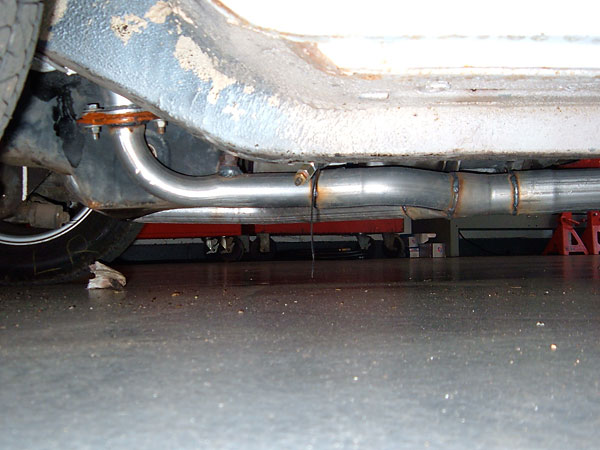
Purpose-built y-pipe. Note the oxygen sensor which is required for the fuel injection system.
Enjoying this article? Our magazine is funded through the generous support of readers like you!
To contribute to our operating budget, please click here and follow the instructions.
(Suggested contribution is twenty bucks per year. Feel free to give more!)
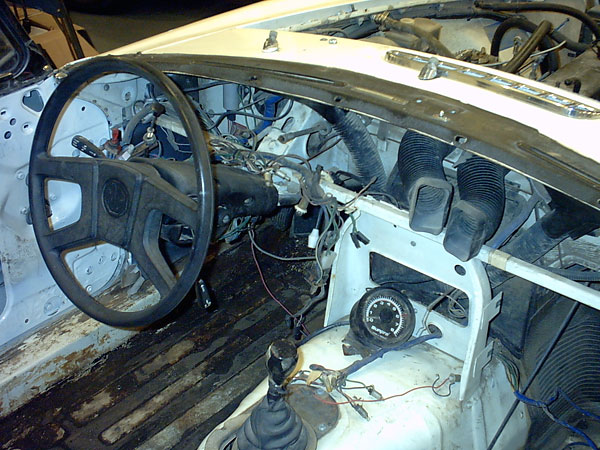
A "before picture" of the dashboard wiring.

The complete new wiring system.
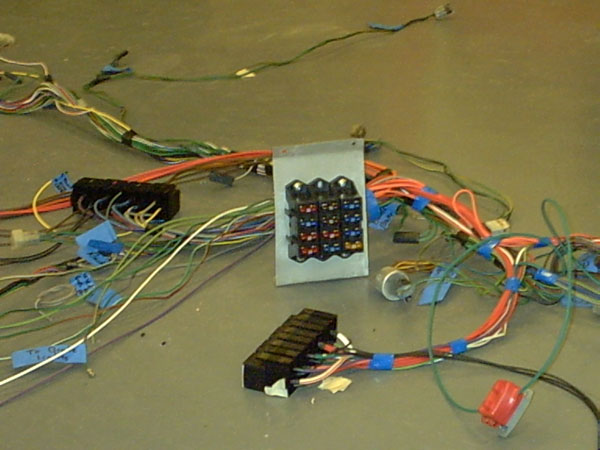
The new fuse block, on a purpose-built bracket. Note also the two blocks of relays.

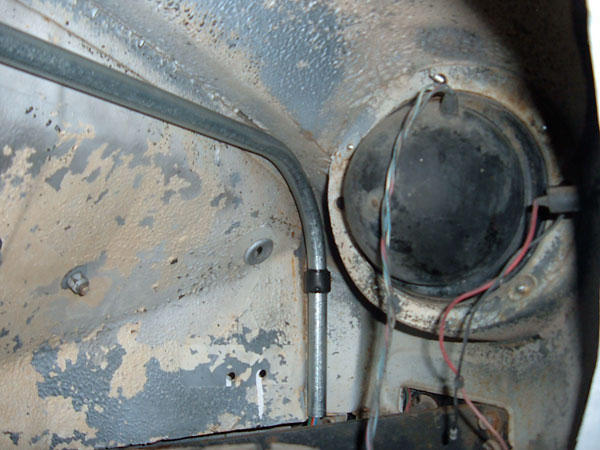
Steel conduit was used to protect wiring under the passenger-side fender.


Here's a close-up view of the fuse block bracket, as installed.

A brand new MGB dashboard!

Skilled help has been called-in to help with carpet installation...

...and detailing of the carpet/upholstery.
The Completed Conversion:





Newly installed Special Tuning air dam.


